Making glue suncatchers is a great craft project for kids of all ages, but especially younger hands. There’s really no wrong way to make them! Small hands can practice squeezing the glue, spreading it out, and swirling their colors into a beautiful design of their own creation. The vibrant results are part suncatcher, part stained glass art. Your little artists will marvel at the colors glowing in the window.
 The hardest part of this project is, of course, being patient while the glue dries. Thicker application may take three or even four days. But a thin coat can dry in one to two days. Make a single suncatcher and hang it like an ornament in the window. Or extend the project and make many suncatchers. Hang them from a coat hanger in front of a sunny window to make a striking mobile.
Supplies Needed
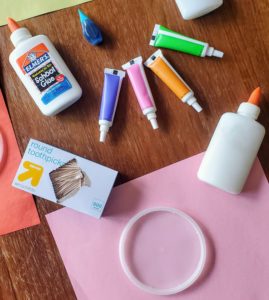
- Elmer’s Glue: one school-sized bottle will make several suncatchers, or go ahead and buy the gallon jug to make other glue crafts [link to slime recipe].
- Plastic lid: the lids from salads at the deli are perfect for this. You’ll want one with some flexibility to make it easier to remove your suncatcher once it’s dry.
- Toothpicks: one will work, but a few extras are nice to have (especially for kids who do not like colors mixing).
- Food coloring: liquid coloring works fine; gel is a little easier to work with as it spreads in a more controlled manner.
- Scrap paper: to keep your work surface clean and for holding dirty toothpicks.
- Hole punch: you could also use a knife or scissors if you don’t have a hole punch at home.
- String: to hang your suncatcher.
- Coat hanger: optional if you want to make a mobile.
 Instructions
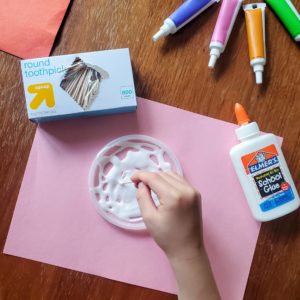
1. Place your lid (top side facing up) on the scrap paper. Cover the lid with glue by squeezing it in a spiral pattern. You will be tempted to unscrew the glue lid and pour it on and this is fine, but a thinner layer of glue will dry faster. Thicker glue may take 3-4 days to dry.
2. Once you’ve squeezed enough glue to cover ab
out ¾ of the lid, use your toothpick to spread the glue out so you’ve got an even layer across your lid. Add more glue if needed.
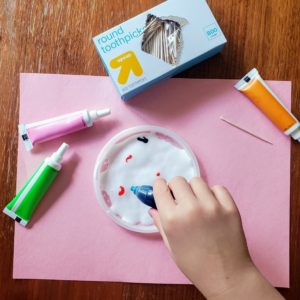 3. Choose your colors and add very small drops of coloring. 3-5 drops total is plenty.
4. Using your toothpick, drag the colors around to make swirls, squiggles, lines and designs. Don’t overmix or you’ll have one big brownish blob. Note: the food coloring will bleed and spread as the glue dries (see pictures). Intricate designs will blur so it’s best to aim for abstract designs rather than intricate doodles.
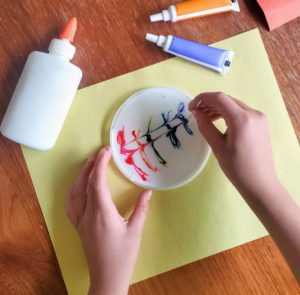 5. When you’re done swirling, place your lids on a flat surface, out of the way, to dry for 2-3 days. This is the hard part: leaving it alone. The glue will be translucent when dry.
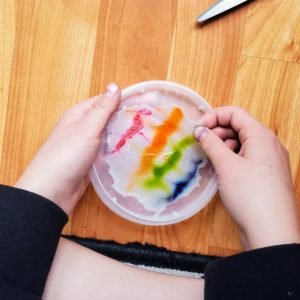
6. When the glue is dry, carefully peel the suncatcher off of the lid. Poke a hole towards the top, tie a loop of string through and hang it in the window.
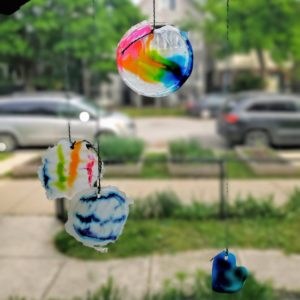 Note: if you live in a very sunny, hot climate, beware that the glue may melt on super hot days.
Want to take it a step further? Silicone cupcake molds and cupcake liners will also work for this project and create fun, smaller profiles for your suncatchers. Try your hand at these and mix them in with the larger pieces for a more playful and varied suncatcher mobile.

